
Create Python UI with Tabs - PyGTK sample program
Creating a PyGTK application with tabs involves using the
Gtk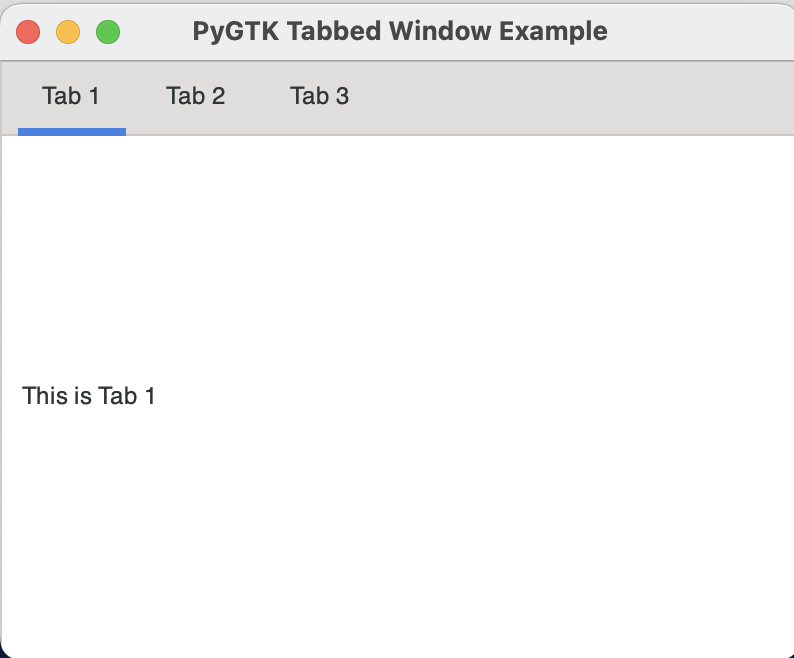
### Step-by-Step Guide
1. **Install PyGTK (GTK+ 3):**
- First, ensure you have GTK+ 3 installed on your system. You can install the Python bindings for GTK using `PyGObject`.
```bash
pip install PyGObject
```
2. **Create the Main Window:**
- Start by creating the main window for your application.
3. **Add a Notebook Widget:**
- Use the `Gtk.Notebook` widget to create tabs.
4. **Add Tabs to the Notebook:**
- Create different widgets (like labels or buttons) to serve as content for each tab.
- Add these widgets to the notebook with a tab label.
5. **Run the Application:**
- Finally, run the application loop to display the window.
### Sample Program
Here’s a complete example that demonstrates how to create a PyGTK window with tabs:
```python
import gi
gi.require_version("Gtk", "3.0")
from gi.repository import Gtk
class TabbedWindow(Gtk.Window):
def __init__(self):
Gtk.Window.__init__(self, title="PyGTK Tabbed Window Example")
# Set window size
self.set_default_size(400, 300)
# Create a Notebook widget
notebook = Gtk.Notebook()
# Create the first tab content
tab1_content = Gtk.Box()
tab1_content.set_border_width(10)
tab1_label = Gtk.Label(label="This is Tab 1")
tab1_content.add(tab1_label)
# Add the first tab to the notebook
notebook.append_page(tab1_content, Gtk.Label(label="Tab 1"))
# Create the second tab content
tab2_content = Gtk.Box()
tab2_content.set_border_width(10)
tab2_label = Gtk.Label(label="This is Tab 2")
tab2_content.add(tab2_label)
# Add the second tab to the notebook
notebook.append_page(tab2_content, Gtk.Label(label="Tab 2"))
# Create the third tab content with a button
tab3_content = Gtk.Box()
tab3_content.set_border_width(10)
button = Gtk.Button(label="Click Me")
button.connect("clicked", self.on_button_clicked)
tab3_content.add(button)
# Add the third tab to the notebook
notebook.append_page(tab3_content, Gtk.Label(label="Tab 3"))
# Add the notebook to the main window
self.add(notebook)
def on_button_clicked(self, widget):
print("Button clicked in Tab 3!")
# Main application entry point
if __name__ == "__main__":
win = TabbedWindow()
win.connect("destroy", Gtk.main_quit)
win.show_all()
Gtk.main()
```
### Explanation
- **Gtk.Window:** This creates the main application window.
- **Gtk.Notebook:** The `Gtk.Notebook` widget is used to create tabs. You add pages (tabs) to this widget.
- **Gtk.Box:** A simple container used to organize widgets vertically or horizontally.
- **Gtk.Label:** Displays text on each tab.
- **Gtk.Button:** A button widget that can trigger actions when clicked. In this example, it prints a message to the console.
### Running the Program
1. **Save the script as `pygtk_tabs.py`** or any name you prefer.
2. **Run the script using Python:**
```bash
python pygtk_tabs.py
```
### Customizing the Tabs
You can customize the tabs by adding different widgets or changing their content. Here are a few ideas:
- **Add Images:** Use `Gtk.Image` to add images to the tabs.
- **Input Forms:** Add input fields (like `Gtk.Entry`) for data entry.
- **Complex Layouts:** Use `Gtk.Grid` or `Gtk.Box` to create complex layouts within each tab.
- **Tab Close Buttons:** Implement close buttons for each tab if you want users to dynamically add/remove tabs.
### Conclusion
This sample program demonstrates how to create a PyGTK window with tabs, providing a foundation for building more complex applications. By customizing the tab content, you can create a wide variety of user interfaces suitable for different applications.
No Comments have been Posted.